My Three Vices, photo by author
Unless they REALLY took specific care to hold onto (and properly store) their film negatives, people of a “certain age” (read: old) use to worry about losing their family photos (easily done for a variety of reasons). That 4x6 print was (most likely) the only thing that survived from the moment that particular photo was taken. The number of ways in which that print could go missing were many and varied. It could have been dropped into a shoebox or placed in a photo album and then shoved in a drawer, attic or garage and forgotten about nearly immediately. Worse yet, the film could have been lost, never taken to the lab for development … or … the prints loaned to someone only to never be seen again. Once printed, those prints were always subject to damage as well.
The ways in which we “lose” photographs in the digital age have only increased. Back in the film days, it was common for a family to only take four or five rolls of 36 exposure 35mm film shots during a week or so of vacation time. The relative scarcity of those 150 exposures (approximately) meant that each one was just as important as the one before or after it. Now … many modern cameras are capable of shooting 30 frames (or more) per second. With that kind of technology, an indiscriminate shooter (called the “spray and pray” approach) can easily take thousands of exposures in just a few hours! The sheer quantity of shots produced with these cameras can (emphasis added here) devalue them all, since there is often little to differentiate the first from the last frame. In this example, the one or two “good exposures” in that burst of 30 or 60 can be lost among all of the other shots from the day and may never been seen again. Alternatively, the card they’re on may be accidentally formatted, or the drive on which they’re archived may fail - causing all of the data on the drive to be lost. The problem of technology creep is also an issue. I personally have hundreds (maybe thousands) of photos taken with some really early digital cameras that are stored on CD (for some reason). I don’t currently have a CD reader on any of my computers, so those photos are effectively lost to me until I take the time to get them moved onto something more appropriate for long term storage.
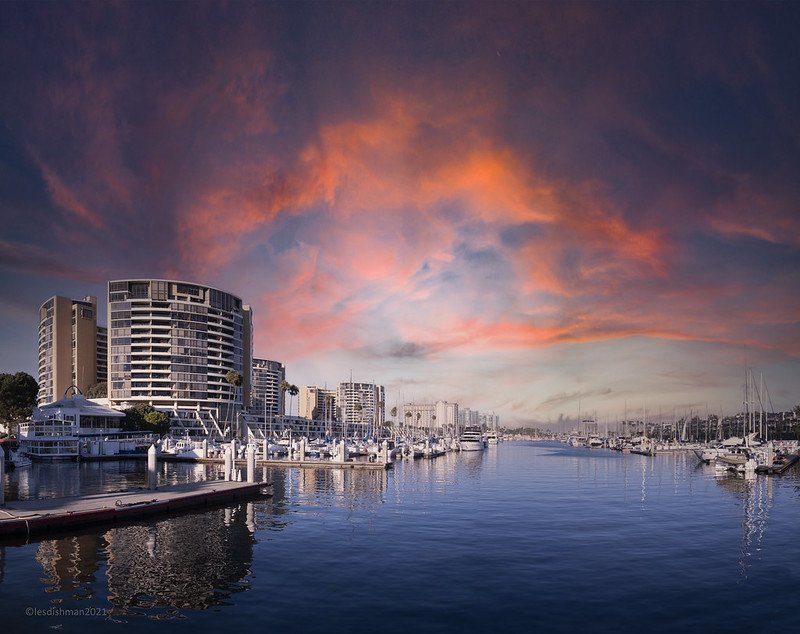
Marina Del Rey, CA, photo by author
Even if you are a “thoughtful” and “present” photographer (that is to say … you don’t “spray and pray”), you can still run the risk of losing your images if your post-production workflow is inconsistent, haphazard, or mistake-prone.
Not Tagging Your Photographs
If you know you have a photo, but can’t find it, you don’t have that photo.
(some guy with a camera)
If you don’t tag and archive your photos for easy retrieval later, any “gems” on your hard drive will be difficult to locate down the road – especially if you take a lot of photographs. Many photographers use photo management software like Capture One or Adobe Lightroom (I use the latter) to edit their photographs and to also act as management and cataloging software as well. One tip: I have found that renaming all of my photos from the day’s shoot using a specific naming convention is very helpful before I move those photos into Lightroom. Sure … Lightroom is an awesome management system, but there are plenty of times that I want to look at an old photograph for reference or inspiration without going into Lightroom. The naming convention I use allows me to find a photo quickly and efficiently - even if it’s not indexed in Lightroom. If I stay consistent at renaming my files in the manner below, I’ll always have at least three data points that I can use to search for photos in a finder window.
example: “clientname-date-location-0001.cr2”
Weak (or Non-Existent) Backup Strategy
The second mistake photographers (of all stripes and all technical abilities) make is failing to have a bomb-proof backup strategy for all of their work. If your digital work is truly important to you, you’ll have one master and one backup – at the very minimum – of all of your photos throughout their life cycle – even from the moment they’re taken. This is easily done with cameras that contain dual card slots that write each photo or video to both cards simultaneously. Once you’re back at your desk, you should move all of the files from the SD card to your hard drive. I then duplicate that drive using Carbon Copy Cloner. Then … I take one additional step by backing up the data to the cloud (I use Backblaze) to ensure – as much as possible - that I’ll always be able to retrieve my photos if/when tragedy strikes. I would consider this to be the most basic approach to data duplication.
Pro tip: I actually make a second backup of all photos taken during a session onto a solid state drive (SSD) as I’m packing up all of my equipment. If you’re keeping score, that’s a master and a backup on the cards in the camera, along with a second backup on an external SSD before I leave the set. I’ve found that that extra bit of professionalism and duty to care can resonate with business clients – especially when you’ve taken a few hours (collectively) of their time taking headshots at their location.
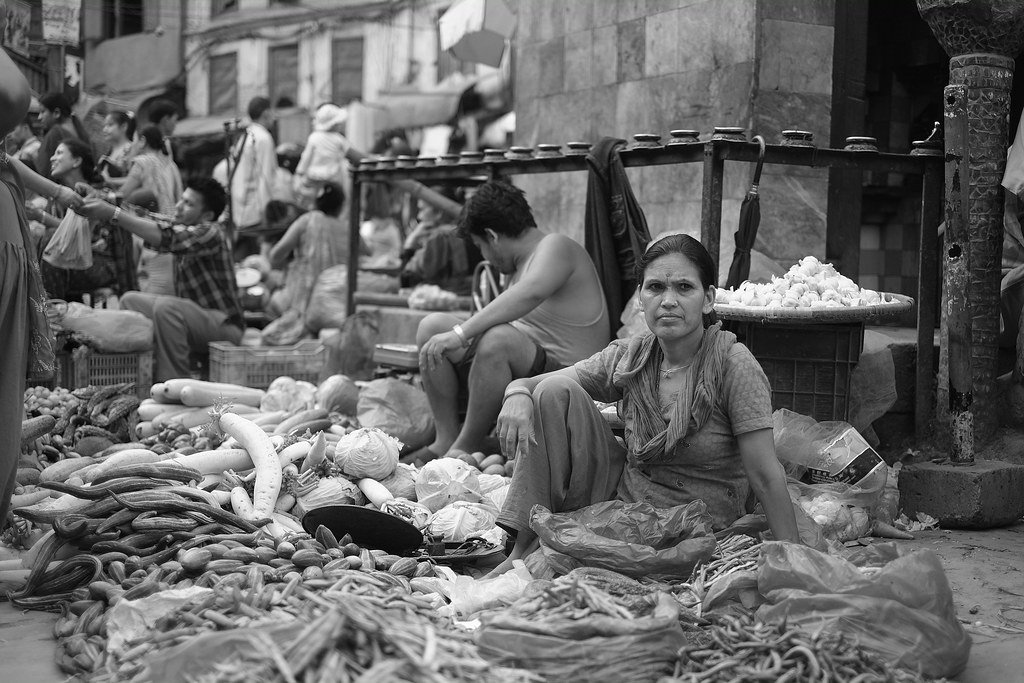
Street vendor in Nepal, photo by author
Inconsistent Shooting & Editing Workflow
Many years ago, my wife and I Nepal on a backpacking trip. In anticipation of that trip, I bought a brand new Fujifilm X-Pro 1 (because WHY NOT). I didn’t take the time however to fully commit the camera’s settings to memory and ended taking only JPEG (no RAW) versions of everything from that trip! (The black and white photo of the street vendor above is the only version I have because I WASN’T shooting in RAW.) Honestly, if you’re gonna rely on a camera to only take JPEGs, then Fuji has a pretty good reputation with their film simulations, but it really would’ve been nice to have the RAW files for the increased flexibility you have when editing later. Pro tip: know you camera’s functions backward and forward and always run through the menu to ensure the settings selected match your preferences for the session you’re about to shoot before you start shooting. Shooting selections can change from shoot to shoot, so make sure you run through a mental checklist before you start shooting.
I’ve also been foolish enough to edit photographs in Photoshop in a “destructive” way - only to end up with a shot that looked over-edited (or just plain rubbish) later. Photoshop allows you to edit images in a nondestructive way so the original remains “untouched.” If I had taken the time to learn that first, I would still have a bunch of original photos - as they were originally shot - instead of those that were over-edited or simply edited poorly.
Bottom line: ensure your workflow - from capture moment to final edit - is solid, consistent, and repeatable. Don’t lose a beautiful shot because of an accident in your workflow.
Tunnel View, Yosemite Nat’l Park, photo by author
Print Your Best Images!
Lastly, understand that technology is always advancing, so the hardware you’re using today may be outdated tomorrow. And while that’s not ENTIRELY true (you can still take perfectly acceptable photos with a ten year old digital camera or a 50 year old film camera), technical advances often make new camera gear very attractive. In recognition of this inevitability, the old adage, “what is old is new again” can amount to good advice. Print your images. I print one or two (at least) images at the 8x10 size for every shoot I do – especially if those images are of clients I want to continue to work with … or … if those clients are in the core demographic that I want to shoot in the future. I use those prints as my hard copy portfolio that I bring with me when I meet perspective clients. Sure … people can look at photos on my website, but nothing beats professional printing on high quality paper – in person and in the moment. Beyond that … prints are your last, best effort at ensuring you can retrieve your best images easily and efficiently when you need them. Whatever reason you print and however much you currently print, I encourage you to print even more.


