
Do you have a vacation planned in the near future? If so, are you currently considering how to organize the videos and photos that you take during your trip so that you’re able to cull and organize them later into photo albums or YouTube videos? Continue reading for a method that I’ve found to be very useful in doing just that.
Let’s start with a list of items that you’ll need:
Camera and lens (this can be as simple as a cell phone or as involved as multiple DSLR/mirrorless cameras and interchangeable lenses)
laptop (this can be an inexpensive Chromebook)
two external hard drives or solid state drives (SSD) (one primary and one backup) (note: you’ll only need one if you’re using your laptop as primary storage for all of the photos and videos you generate)
card reader
camera bag to carry everything in
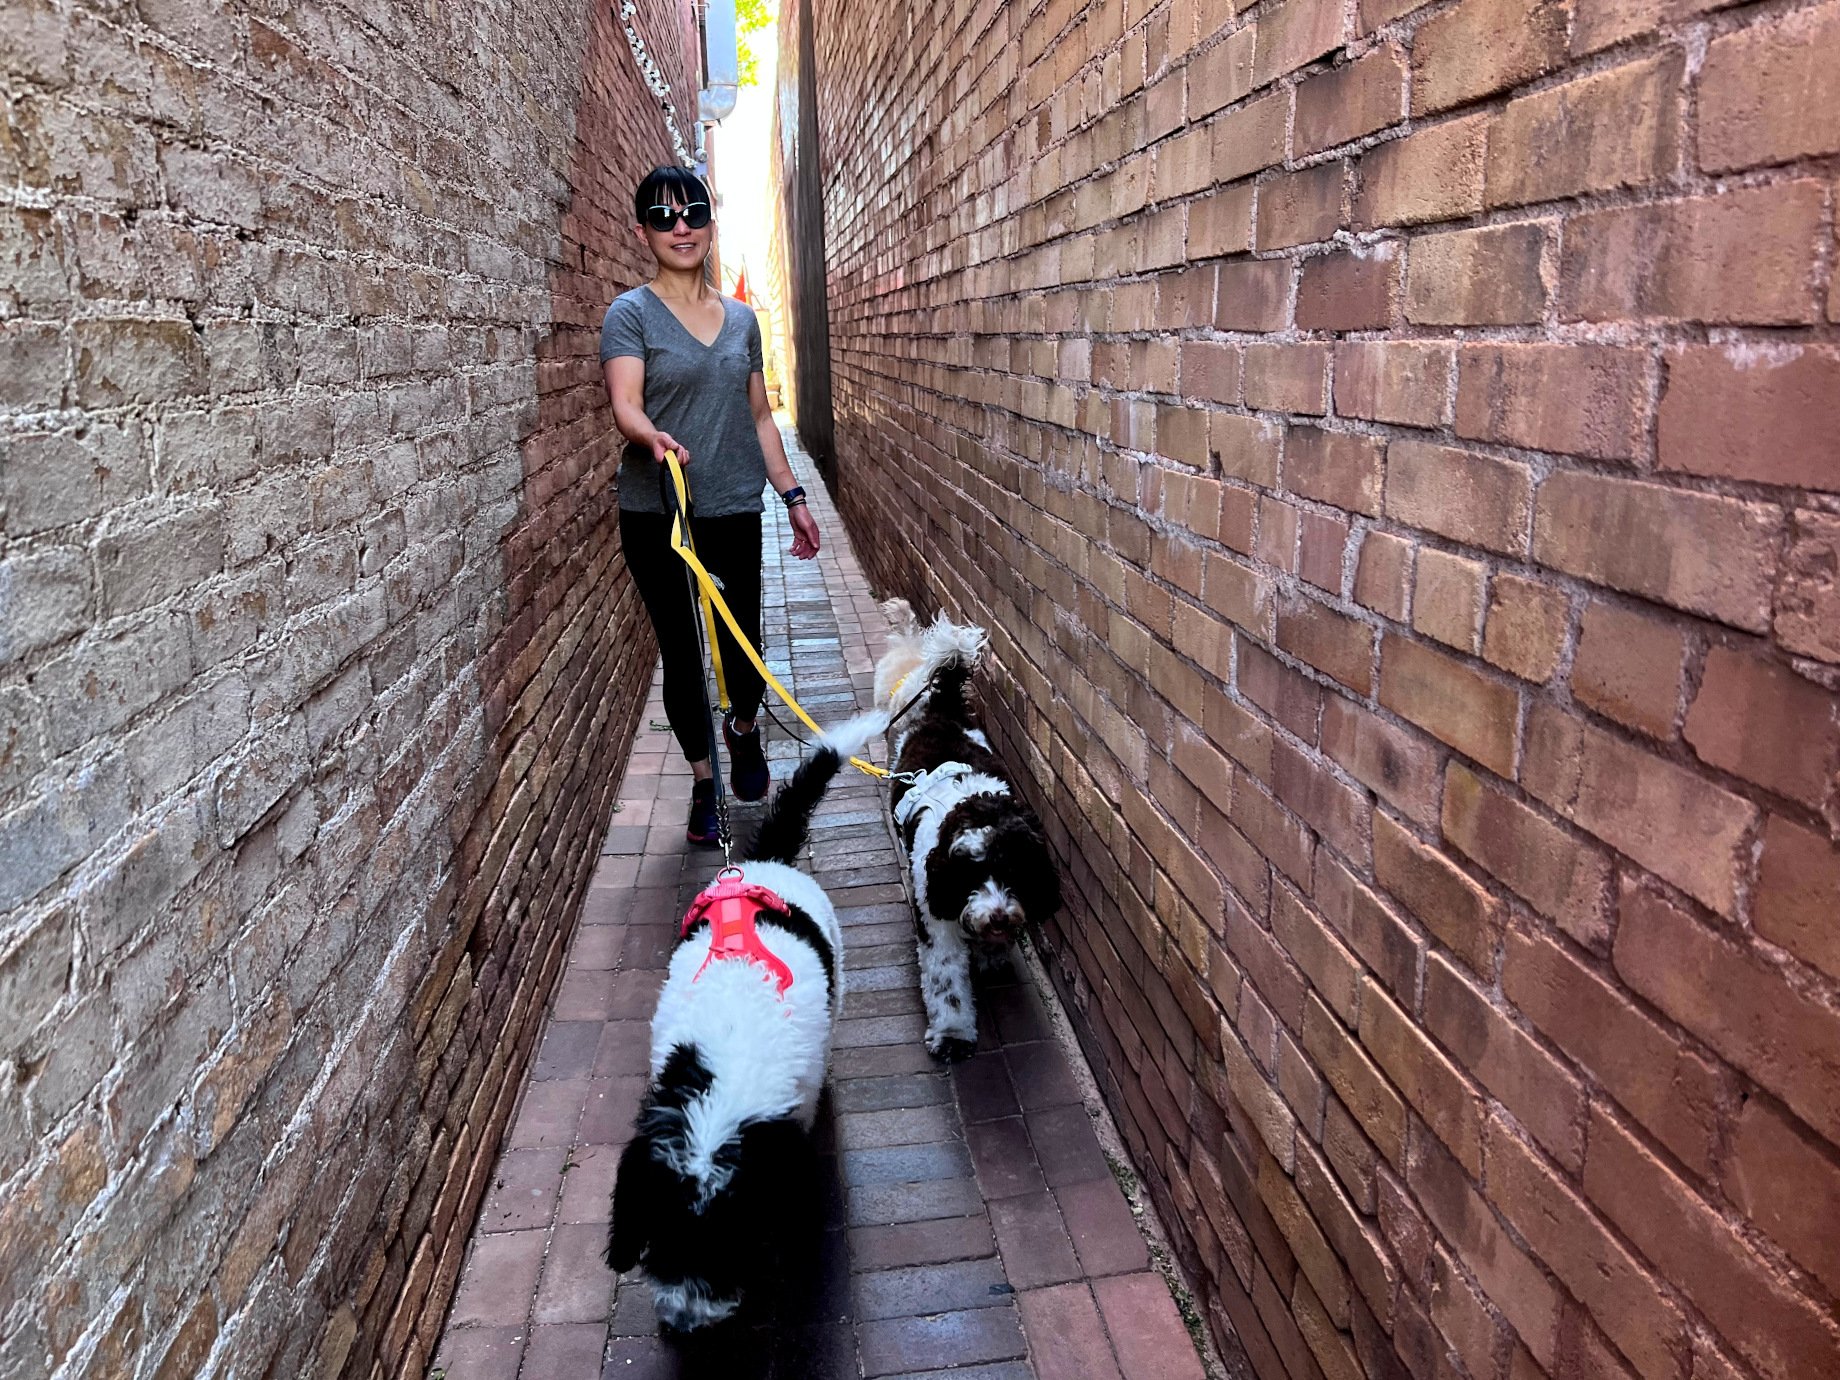
If your trip is a multi-day, multi-location excursion, putting a little bit of thought into how you will organize your photos and videos before you begin will be hugely beneficial once you’ve finished your trip. As an example, my family and I just finished a three week road trip from Los Angles, CA to Paris, KY and back. I generated 3,100 files that, combined, weighed in at 1.5TB worth of video, photos, and audio during that trip (I do love 4K video). My plan is to ultimately generate a 20-30 minute video that highlights our experiences while on the road. Without putting some thought into organization at the front end, editing that video would be much more difficult.

Here’s the approach I took.
I first ensured that my two external SSDs were formatted and ready to receive files. Using a silver sharpie, I labeled one as “primary” and the second as “backup.” I then generated individual folders for each day of the trip on the primary SSD. Those folders were named for the day in which the files were generated:
Day 1 (16 June 2022)
Day 2 (17 June 2022)
At the end of each day, I collected all of the SD/compact flash cards from my cameras and moved all of the day’s files into the appropriate folder. I actually took four cameras with me (iPhone 13 Max Pro, Go Pro Hero 8, Fuji XT-3, and a Canon 5D Mark IV).
Once I had moved the files from all of the cards onto the primary SSD, I then took the time to rename the video files so that each would have some immediate context when viewed in a finder window and when importing them later into Final Cut Pro. As an example, a file that was default named “GH1045.mov” was renamed to “ouray, co via ferrata cable bridge crossing.mov.” I generated nearly 300 video files during my trip, so being able to understand what the file contains just by reading the file name is a huge organizational improvement over the default file name.

I felt like I didn’t need to rename image files since my ultimate plan for those files is to simply import them into Lightroom for processing.
Once I finished renaming all of the video files and had confirmed that I had moved all of the day’s files from all of my cameras, I then backed up the data to the backup drive. Once I confirmed that everything had backed up properly and that I had two complete sets of data (and that those external drives were as separated as I could get them while traveling), I formatted all of the cards on all of the cameras, recharged the batteries where needed, reviewed the settings for each camera, and set them all aside for the following day. I repeated those steps each evening before bed to ensure I had an organized flow of data for the trip. Once the trip was complete, I moved all of the data from the primary drive to my RAID drive at home. The data from that trip is still intact on both drives right now since I have no use for them at the present.
And there you have it. A best practice approach (to my thinking at least) to archive each day’s photos and videos during your vacation so that everything is organized as best as possible for easy post processing once your vacation is complete. I hope this has helped!